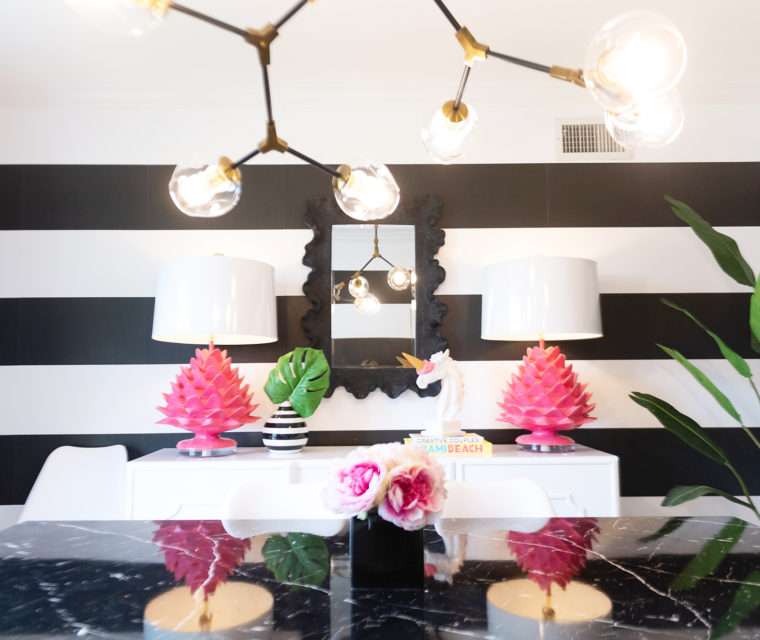
Let me start by saying that DIY is not my jam. Time is money and DIY takes me a long time. I am way more likely to hire a professional, BUT I also think I can do everything from repairing my dryer to competing in the NFL combine. You have to have a little delulu in you right?
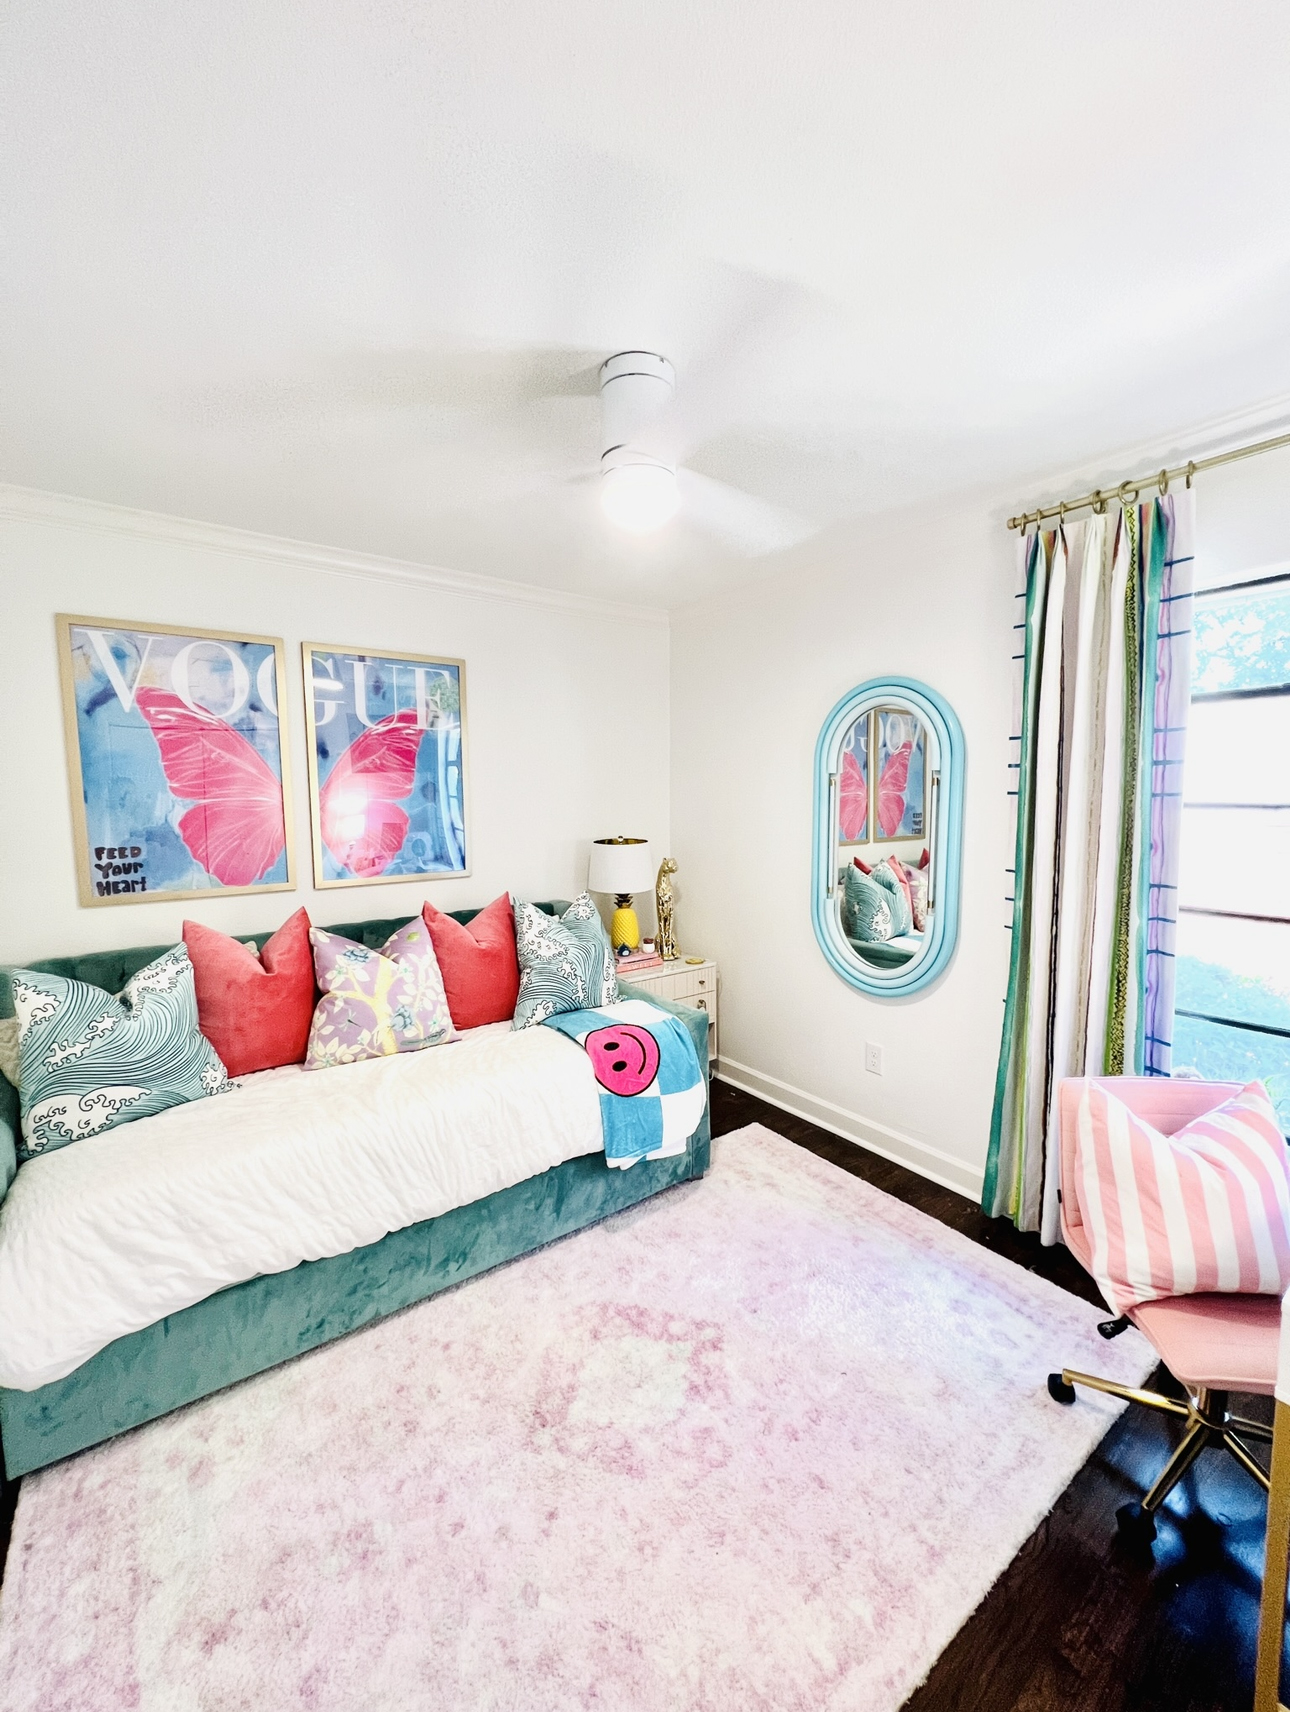
Being a non DIY lady, I naturally jumped right in to a huge DIY project in my 14 year old daughter’s room. It was so easy!! We had fun working on it together and you need minimal supplies and minimal skills.
Come down the hallway with me to her room…
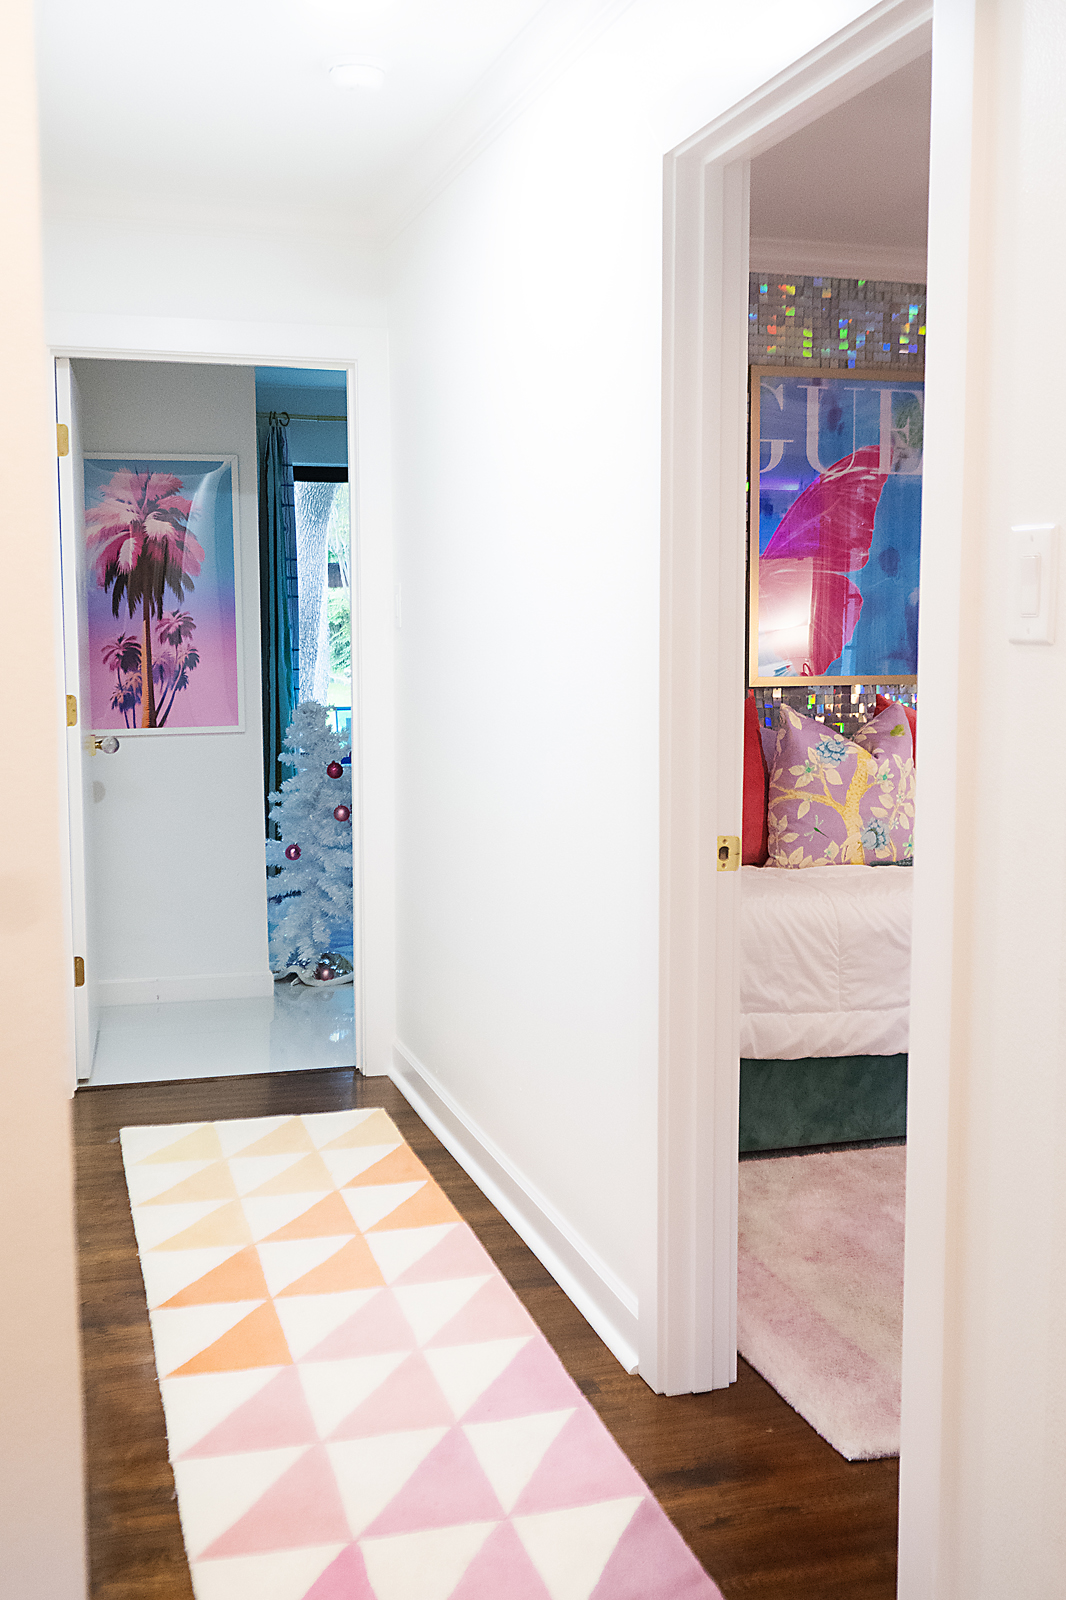

Side note: when I added on to my 1980 square foot 1955 home, I added a hallway and another bedroom for Aven. She and Kylie used to share the bedroom that is now Kylie’s. There was a door right where I am standing in the picture that opened up to one bedroom. The hallway cut into Kylie’s room, but it is still a good size and I love that all of my 4 kids have their own space!
Here is their room before the renovation:
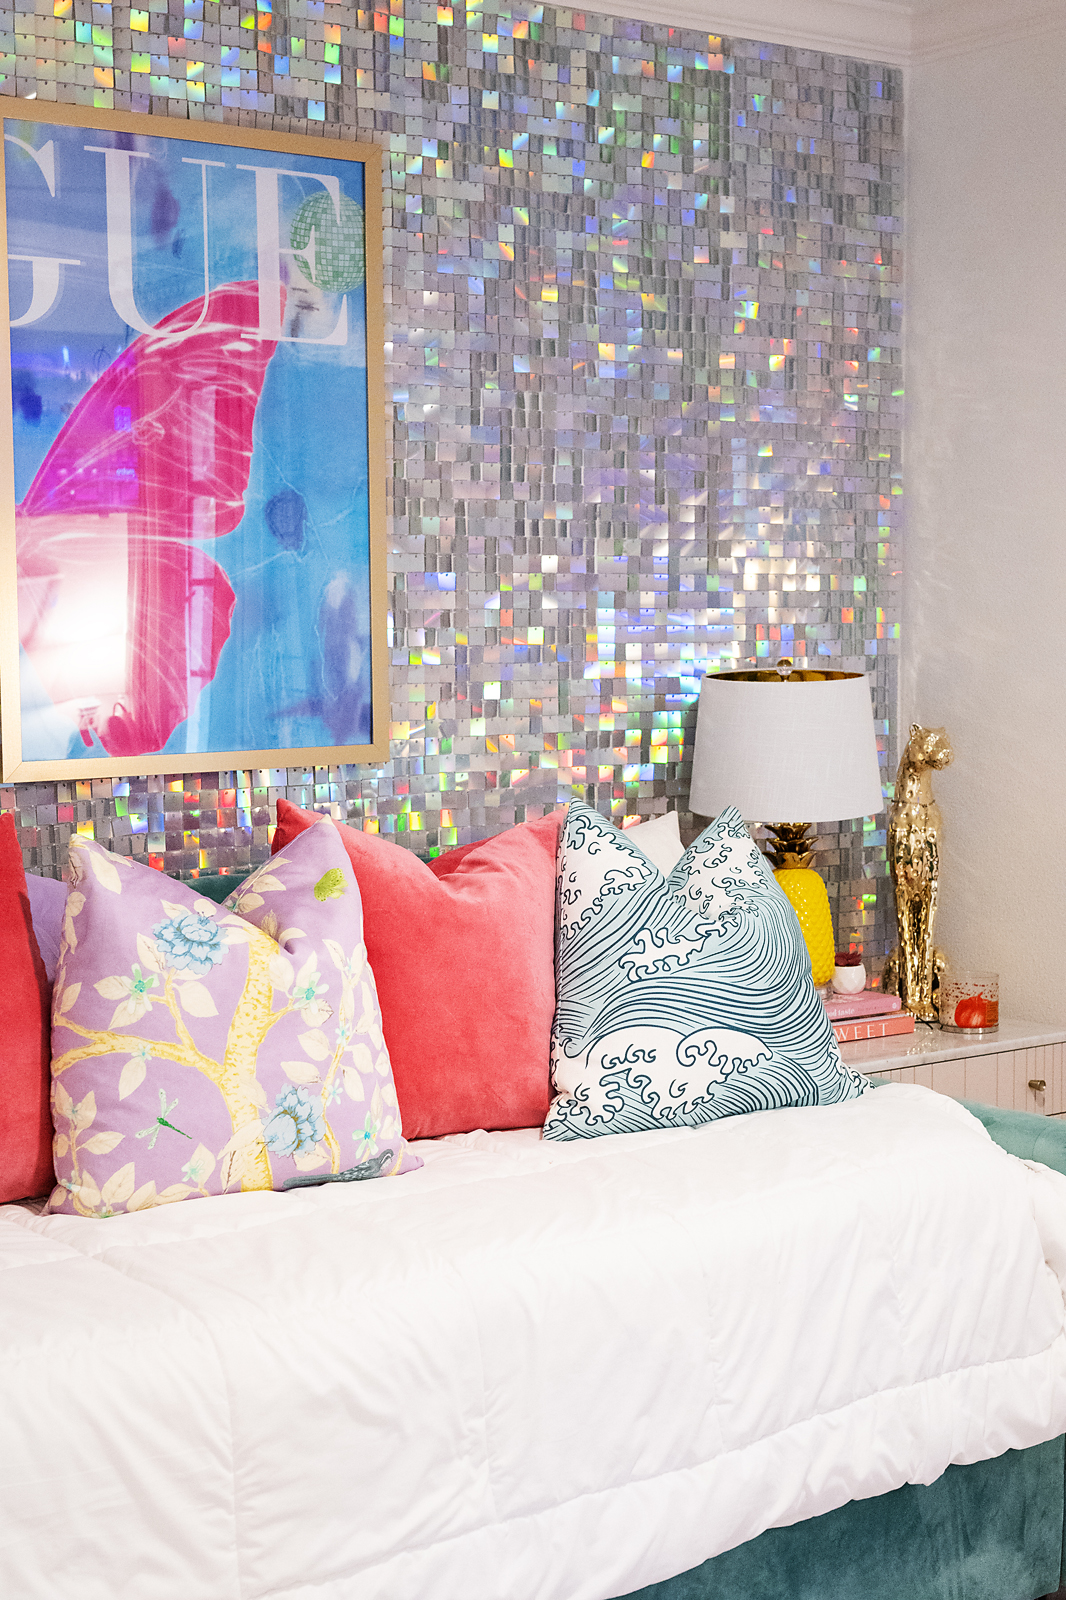
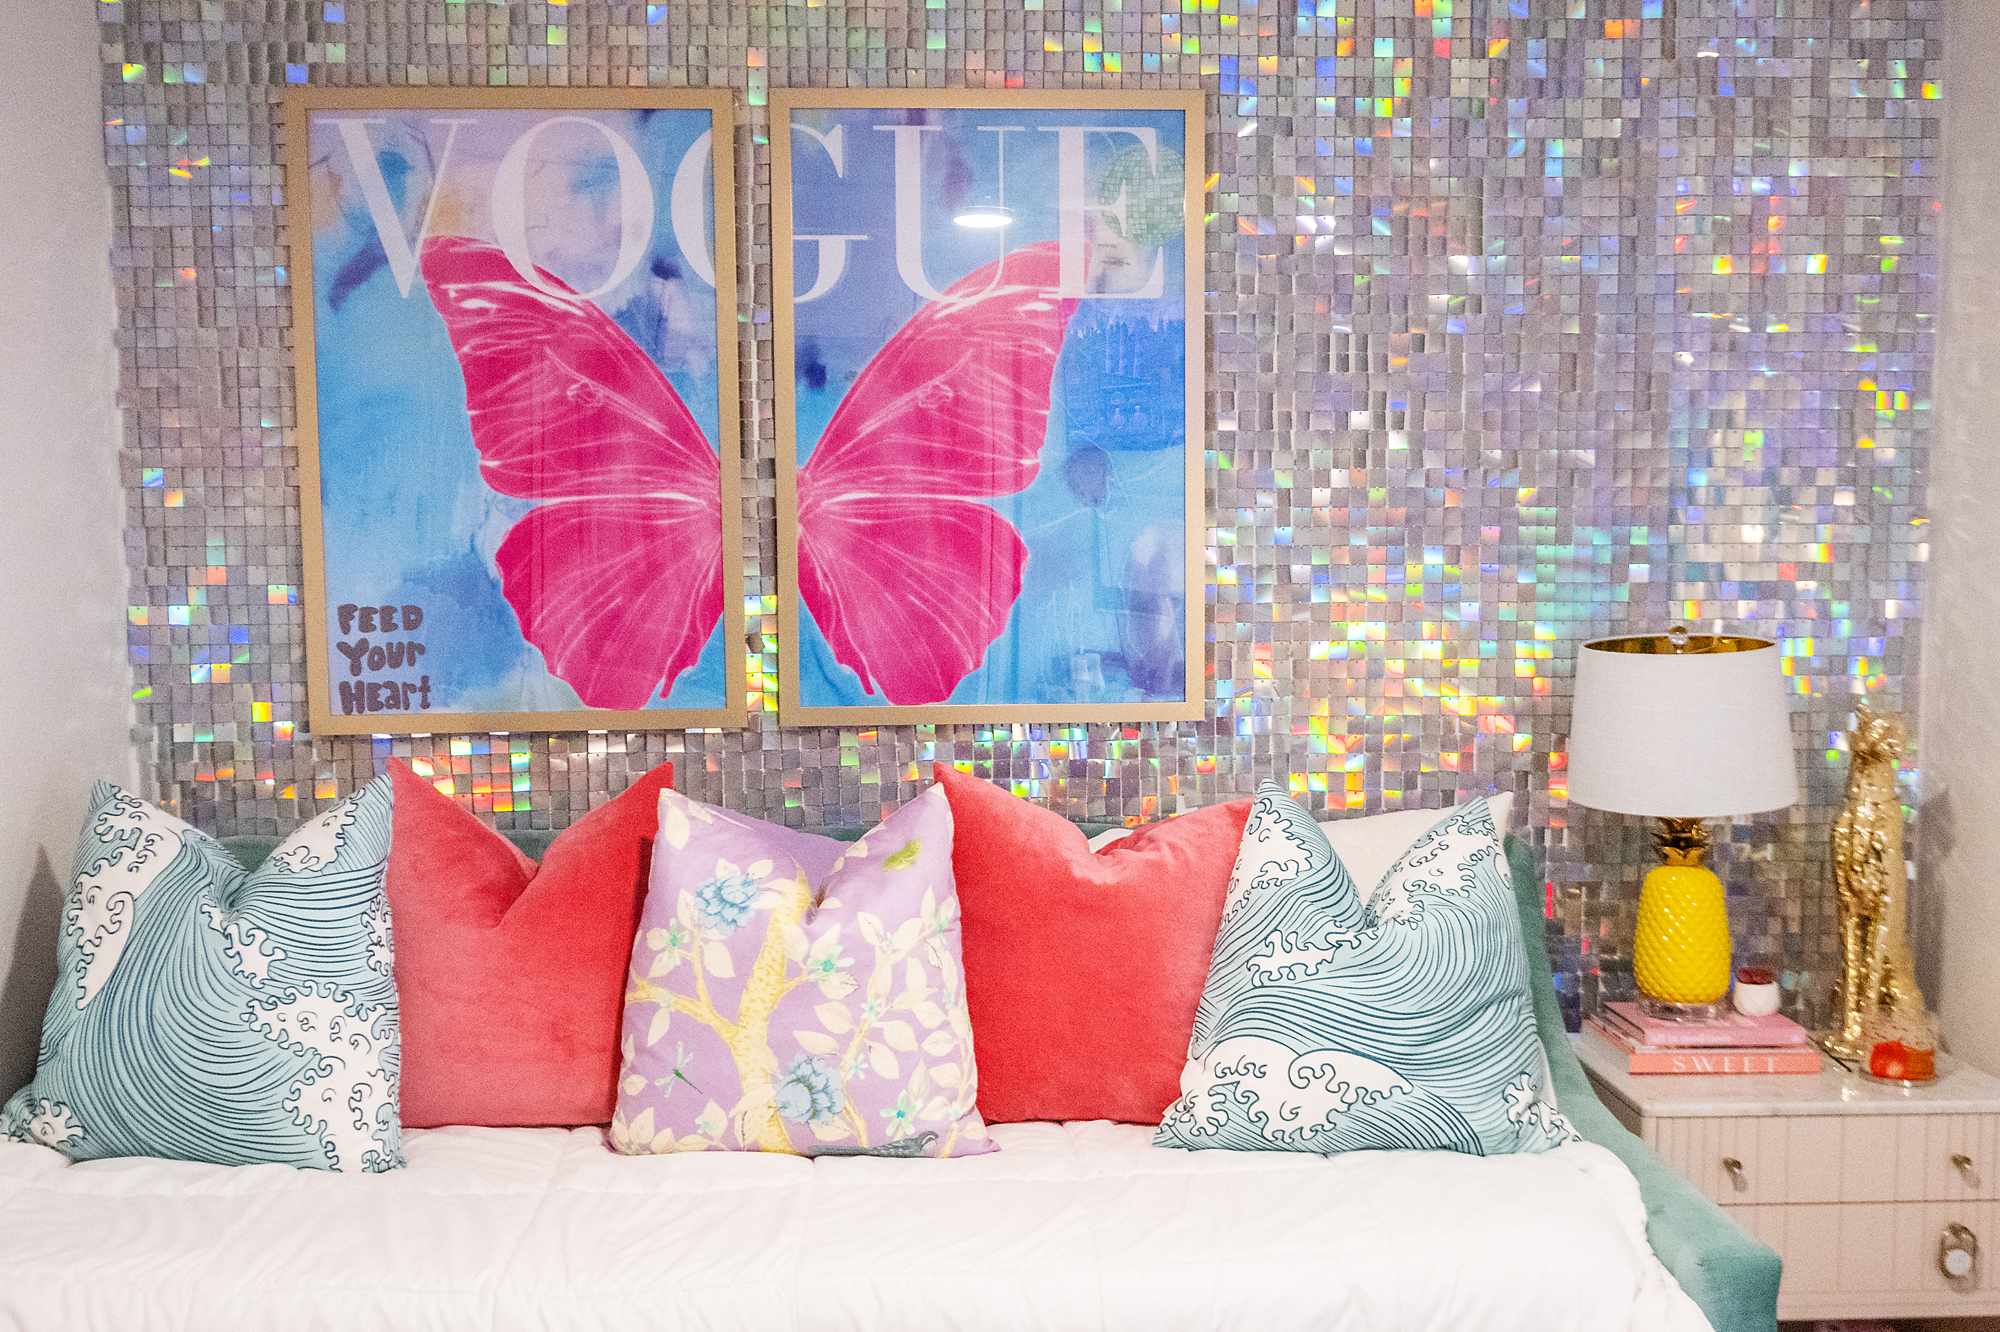
How to do the disco ball wall
quick video tutorial
Supplies you need
First, choose your shimmer panel color
Measure your wall and decide how many panels you will need. I did not put the panels behind the framed pictures or behind furniture. I only put them where you could see them.
I used snips to cut the panels to fit around existing things.
You will also need a hammer and small nails.
Start at the top so that you can align the panel with the ceiling or moulding and work your way down. The panels clip together making it really easy to keep them straight. Hammer the little nails into one of the small holes on the panel. I just kept adding nails where it seemed wobbly.
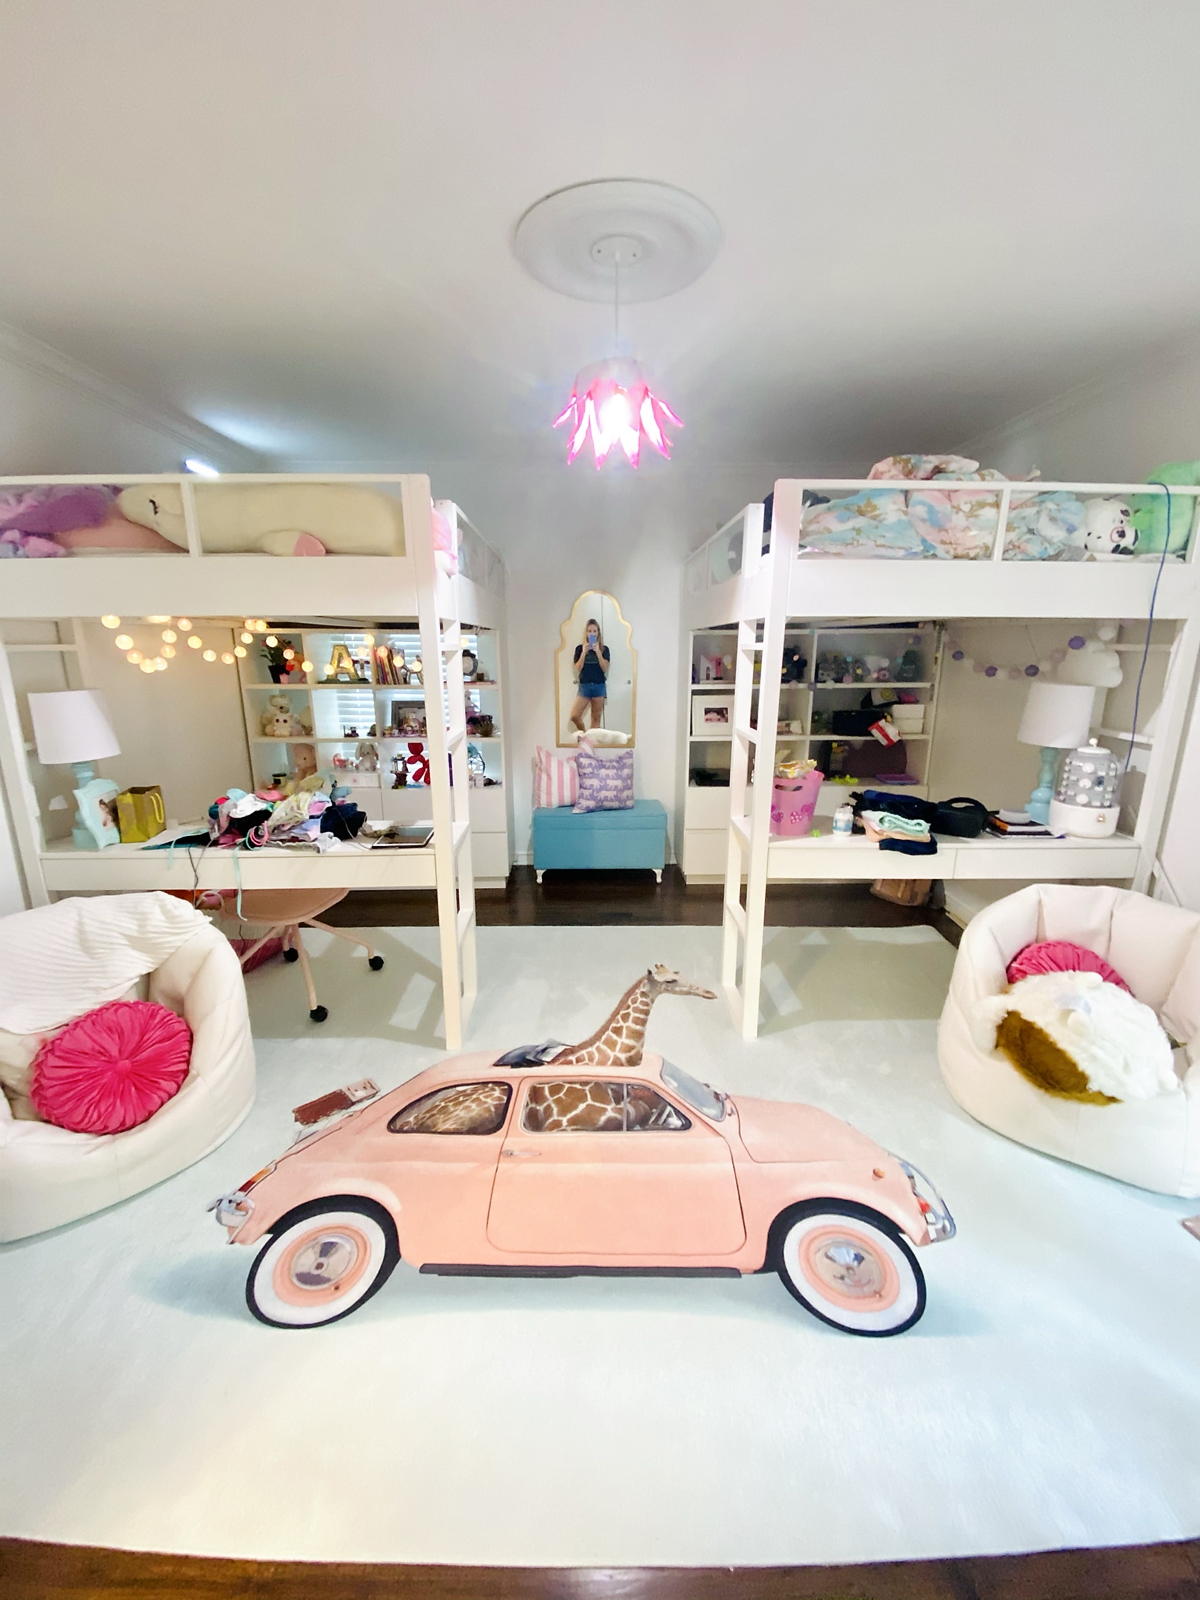
We get so many compliments on this wall and it made a huge impact in Kylie’s room! Highly recommend!
Before the shimmer disco ball wall:
And after!
Go add some sparkle to your house!