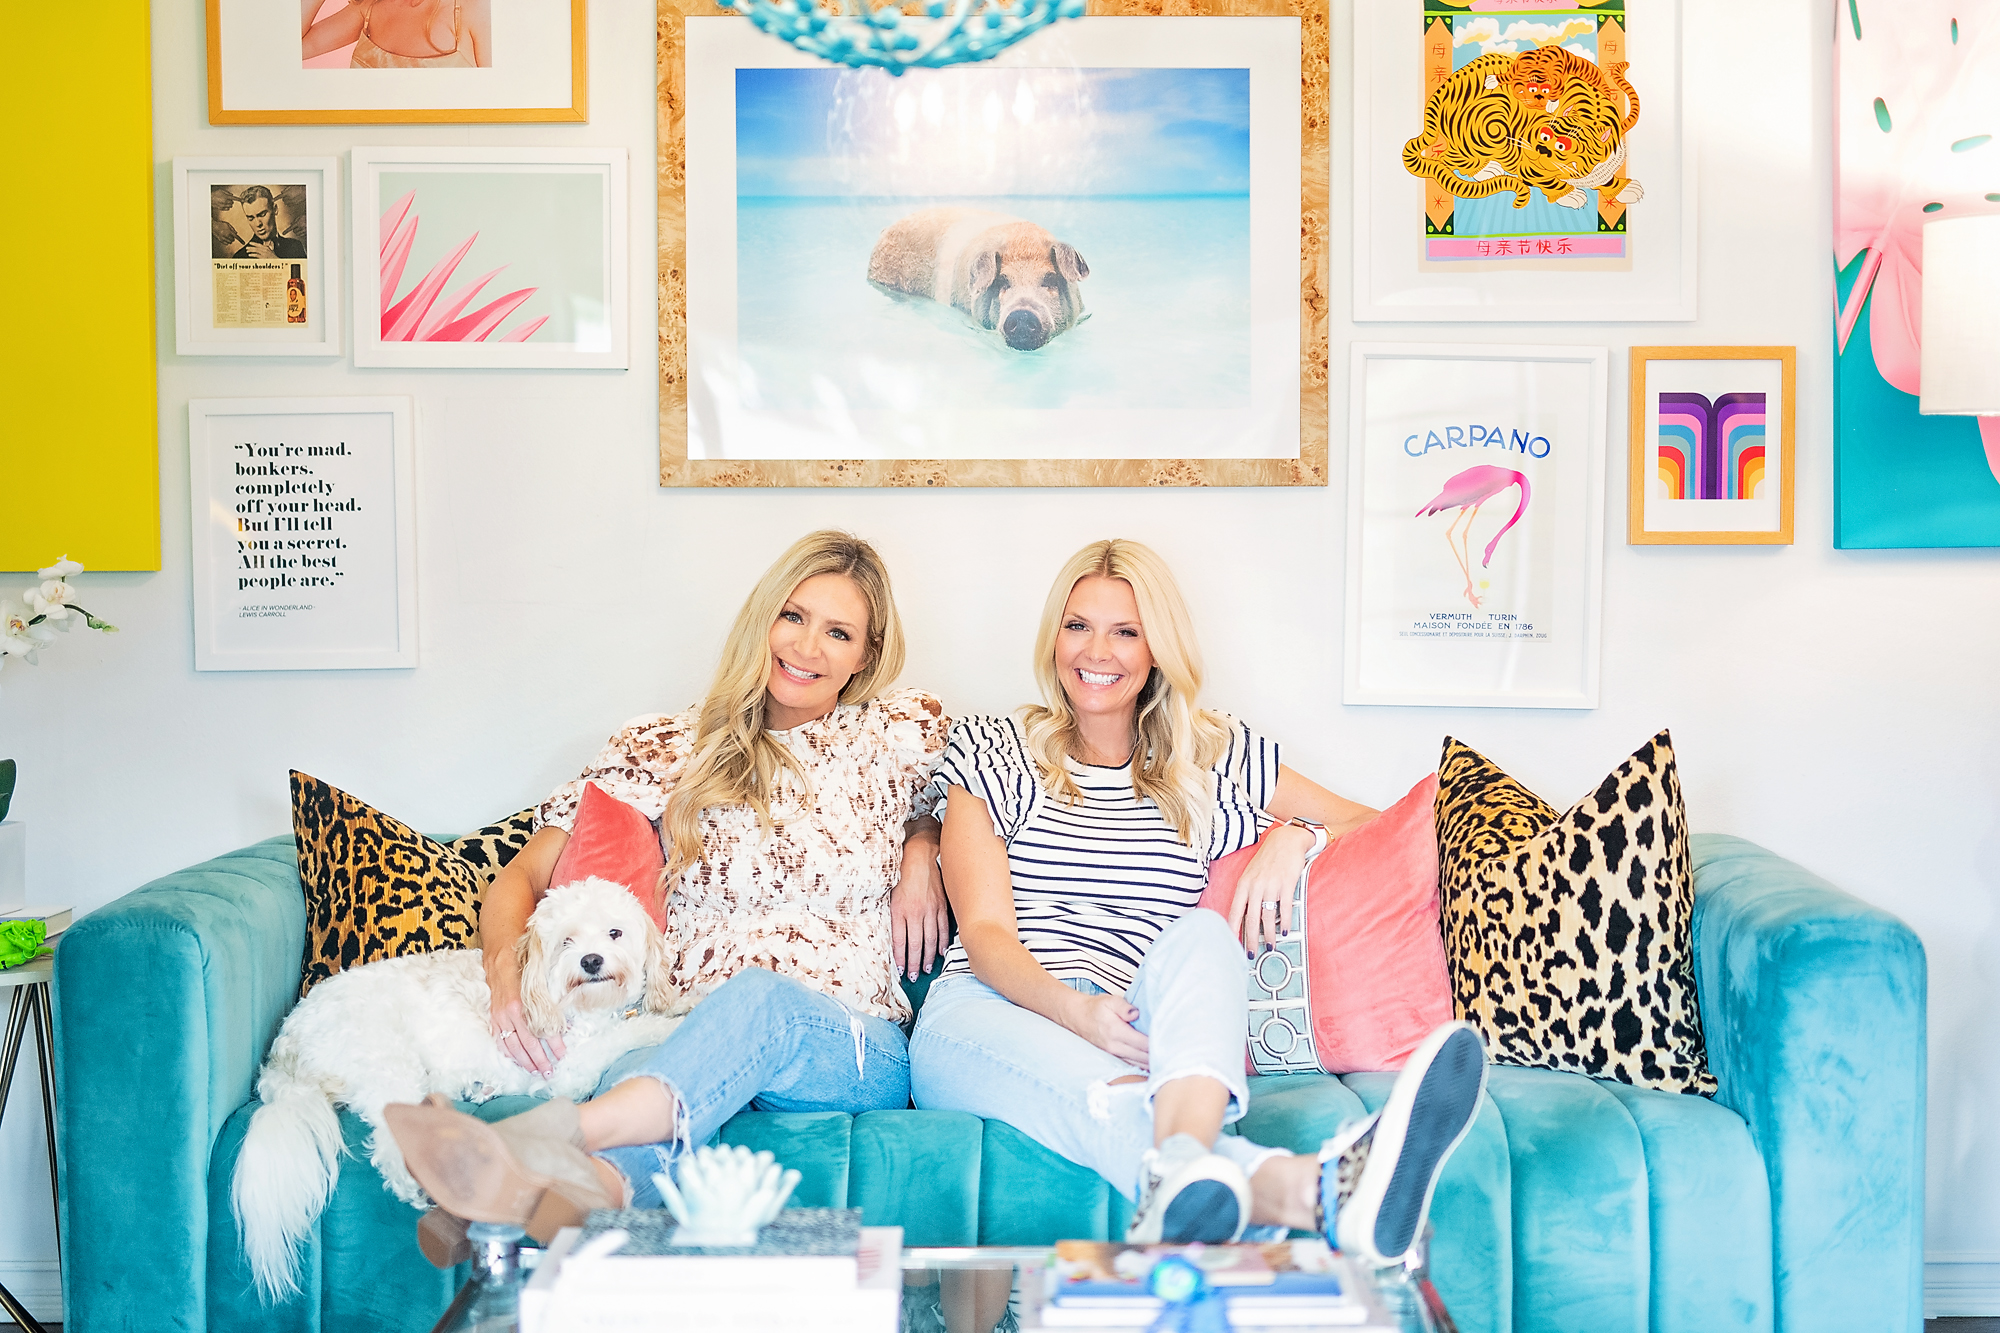

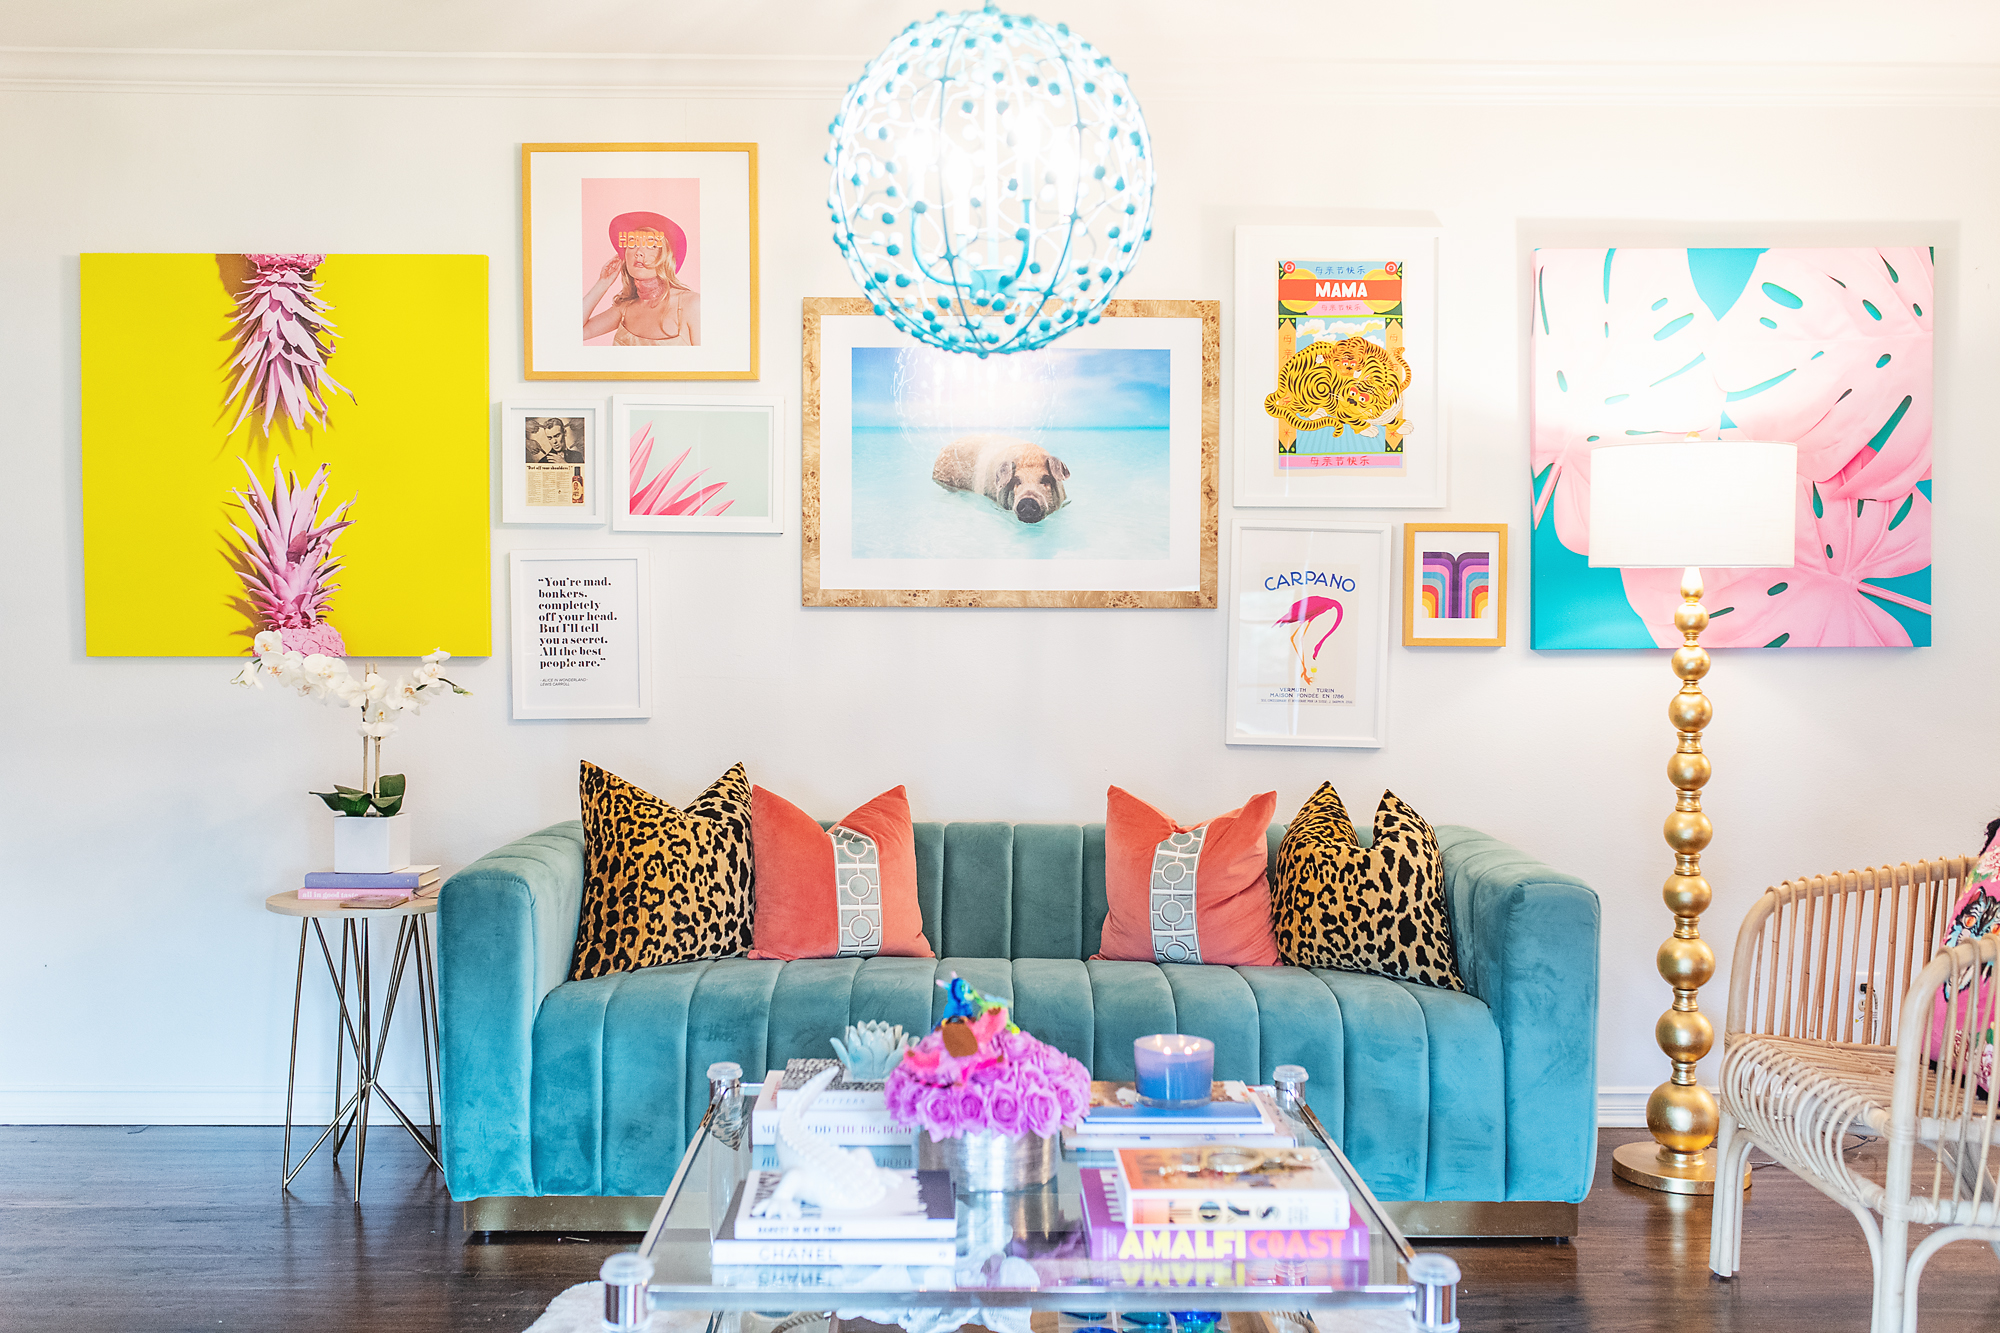
Starting a gallery wall is really intimidating. I don’t want to do any more math than I already have to with kid homework. I also didn’t want it to be perfectly spaced because then it has to be measured and even more precise. I’m in the process of working on mine and this is what I have learned.
- Start with your biggest pieces first. I hung the swimming pig photo that I took in Exuma and had framed at framebridge. Then I spaced out two very large canvases on either side. That gave me a base to work around and much easier.
2. Choose a general color scheme and frame style/color that you want to stick with. It makes a clean, cohesive look out of an otherwise random clump of art. The prints I purchase come framed because no I will not be going to any frame shops or adding any errands to my life thankyew.
3. Mixing horizontal, vertical and square pieces look really nice in between the larger art.
4. It doesn’t have to all be art, when I finally get around to it I will be hanging by gold peace sign sculpture to the mix.
5. I marked up the wall with pencil when I was deciding sizes to purchase. I should have used blue painters tape because now I have a pencil mess to clean off.
6. I don’t have the patience to lay it all out on the floor beforehand. I also am adding to it as I go so that really isn’t a possibility. But if you get twitchy at the thought of making holes that you might end up changing, you may need to put your patience pants on and wait until you have all of the items for the gallery wall to start hanging. But, that’s a hard no from impulsive me, dawg.
7. THIS JUST IN from Carly the commenter! Use a tiny piece of museum putty in each lower corner on the back of the frame and presto!!!! No more slightly crooked movement. Thanks you smart woman!
I can’t wait for mine to be complete, but it’s come a long way! I still plan on adding some 3D things to the left of the big turquoise canvas and some more to the top and bottom of the pig area.
Take a look!

Amazon…. order for less than $10 Museum Putty. A tiny piece in each lower corner on the back of frame and presto!!!! No more slight crooked movement of the frame. Love your wall gallery selections and placement.
Genius! I’ll add this to the blog, thank you!