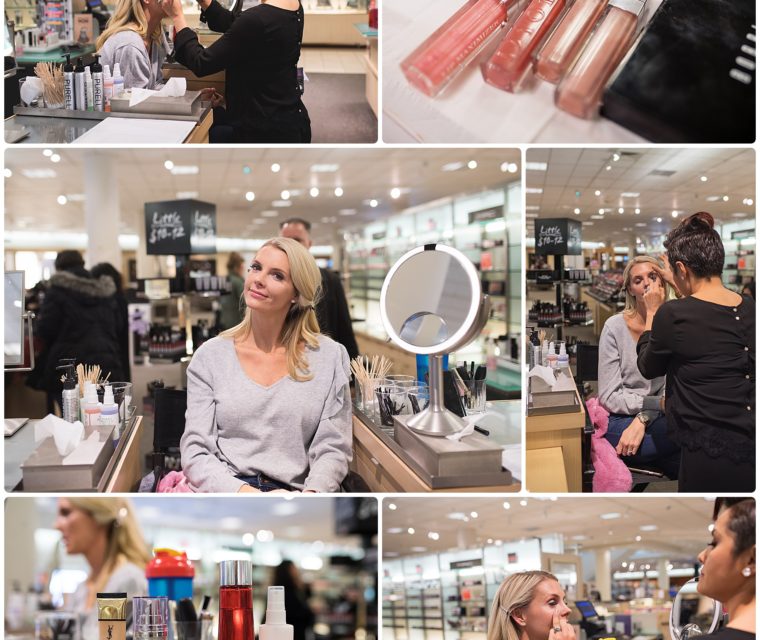
Hello my favorite little eager to learn babes! In part one we learned about all things skin prep, because an unprepared face is not going to get that pro makeup look. In part two, we discussed concealer and foundation application techniques as well as some great product recommendations. Part three is going to be one of my favorite makeup blogs to write because it was THE most helpful part of the class in my opinion. “Aha!” moments were had and bad techniques were corrected.
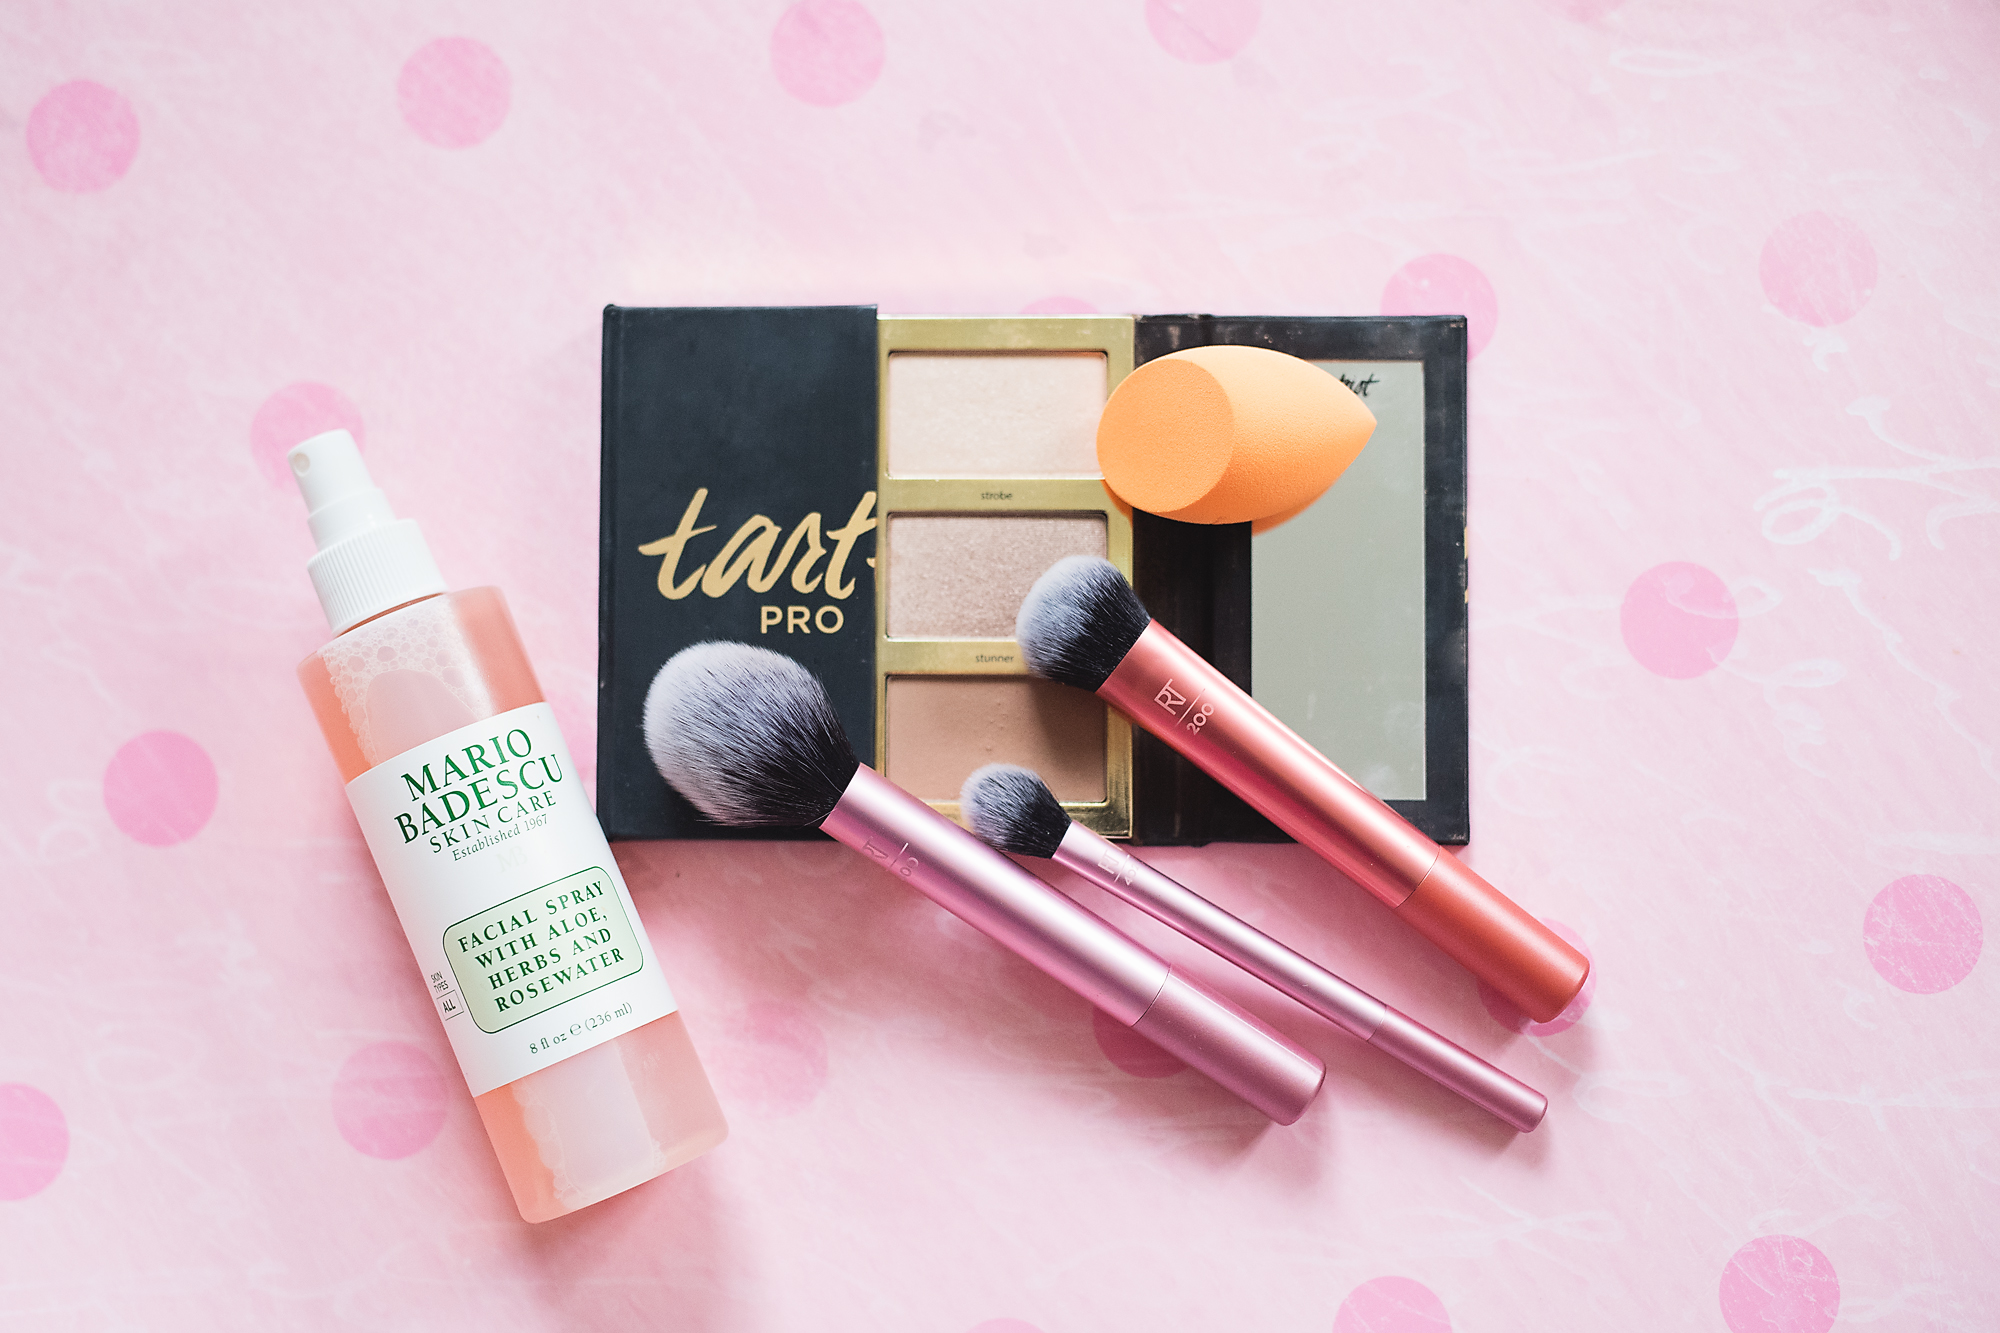
Contour: I have never known where to put the contour, I mean I have seen plenty of diagrams and watched some tutorials but never truly knew. Shannon taught us a trick that has changed everything for me! Using cream contour has also changed my makeup life, Shannon highly recommends and since I switched a few months ago, I also highly recommend!
Step 1– Open your mouth really wide and look in the mirror. Look for the space near the top of your ear where the two bones separate. Take your cream contour on your finger and and stamp it there while swiping down slightly toward your your mouth, following the line that dips between the bones.

Step 2-Take your beauty blender (make sure it’s still spritzed) and in stamping motions, start at the temple and move toward the corner of the mouth, DON’T ACTUALLY TAKE IT TO THE CORNER OF THE MOUTH! #snickersbaronyourface Continue to blend and stamp and stipple until it looks nice and beautifully blended. You can also use a contour blending brush or buffer brush for this. The 200 brush in the set that Shannon recommends would be perfect! The entire set of 4 brushes and a blender is $19.99!!!!!
Step 3-Neapolitan ice cream. Let’s take this Neapolitan cake picture from Life, Love & Sugar for an example…

The vanilla portion represents the concealer location on your face, the chocolate represents the cream contour we just applied. The strawberry will be the cream blush placement. Right in between the concealer and contour. Yes, cream blush! There will also be an application of regular blush, but we aren’t there yet.
Just like we did the contour, except a little higher, using your finger dab your blush and swipe down, followed by tons of blending with a blender sponge or brush.
Step 4-Using your 400 brush from the set and some bronzer, brush it on in a “C” shape starting above the eyebrow and curving around forward to the cheek.
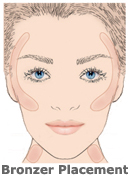
Step 5-Blush! You can use the 400 brush again or an angled blush brush. This time in stead of going from the eyebrow down, you will swipe from the cheek up in a similar motion.
Step 6-Highlighter, the final step of this post! This time you will use the 402 brush! Load your brush with highlighter and tap off what you don’t want. It’s best to start with just a little. You will highlight the high part of the cheekbone, just under the eye and concealer area. This will go in the same general area as our vanilla portion of the Neapolitan. Shannon also recommended highlighting on the cupid’s bow for a more prominent lip.
Now take a selfie and text it to a friend and tell her you figured out contouring, highlighting and blush and it’s so easy!
Click on the products to shop!

1 Comments
Comments are closed.