Makeup has never been my strong point. I have watched a handful of online tutorials and would usually just wing it like Adelle’s eyeliner. I knew the general region where blush was supposed to go and the basic idea of contouring, but felt like such a preschool student in the makeup department. Most days I attribute my strikingly sexy mom face to botox, moisturizer and my beloved eyelash extensions. If I’m feeling like a total saucy minx, I may throw on some bb cream and MAYBE some eyeliner. Unless I had big plans or a reason to pull it together all the way, a full face of makeup was
a. too time consuming
b. too complicated
c. frustrating because I lacked the skills
Well not anymore my stylish and adorable pals!
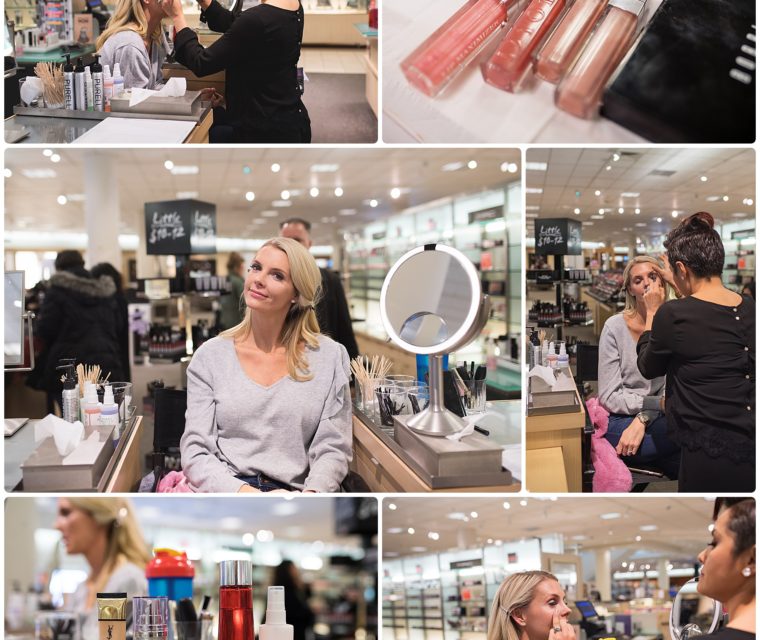
My photography clients and I have used a very well known and talented makeup artist for years and years, Shannon of Something You Beauty. When she mentioned she taught classes, I couldn’t wait to get signed up. But seriously, years passed by and I still hadn’t done this. Once this blog was up and running Jeni and I knew we needed to take Shannon’s class and let our people know some tips to stash in our bag of tricks. And tips do we have. HOLY MAKEUP did we learn some life changing, mind blowing information. So much information, in fact, that I am having to break this down into many blogs to get it all out there.
Grab some coffee, maybe even a pen and paper, and tell a friend because you are about to be enlightened.
Allow me to introduce to you Shannon. She is a hilarious, tell it how it is, precious person and I have the pleasure of calling her my friend! If you are in the DFW area, I highly recommend her for pro makeup as well as her insanely helpful classes!

She starts her class with a funny little phrase… Did you know your face goes from tits to temples and should be treated all the same? So ladies, keep this in mind when you are cleaning, moisturizing, exfoliating and putting on serum.
See, she’s our kind of girl, and that is a lot more real estate that needs to be covered than I originally thought. Now I know.
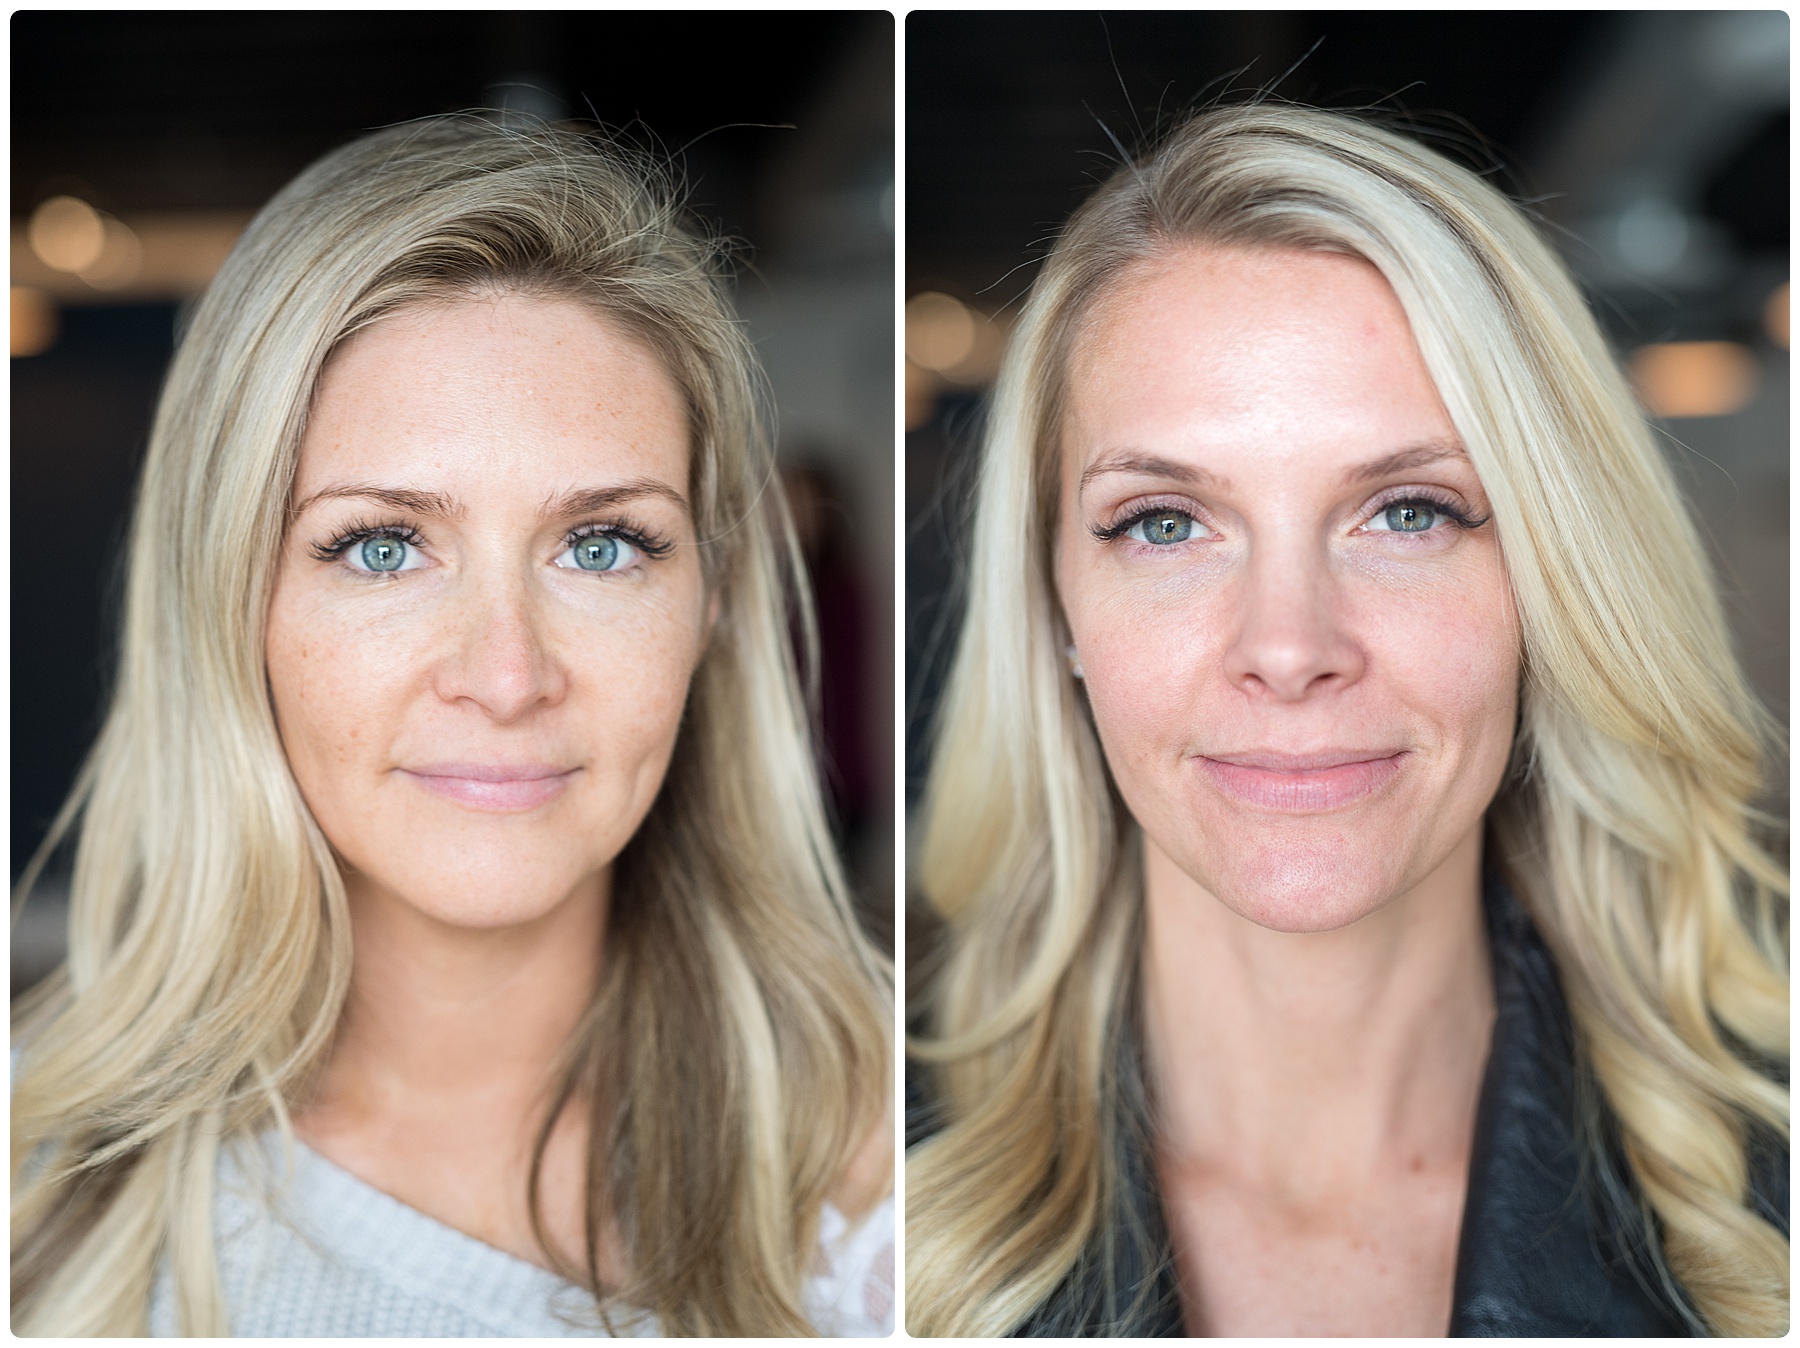
Here are our no makeup faces, minus the tits part. We both have eyelash extensions, but other than that, this is the clean slate.
Speaking of clean slate, Shannon suggests oil cleansing, which I had never even heard of. Strangely enough, oil dissolves oil, this is a great natural way to avoid chemicals and get a clean and clear face. She makes her own oil cleanser depending on the season and her skin’s state using a mixture of jojoba and castor oil. If your skin is dry, use less castor and if it’s oily, use more. Jojoba oil is the closest to our own natural oils and castor oil draws out the skin’s impurities. If you want the whipped texture, whip it up and whip it good.
How to oil cleanse:
- Put a quarter size drop of oil cleanser in your hand
- Rub your hands together and put the oil on your dry face
- Massage cleaning oil into your face with firm motions, this will take off makeup, impurities, dirt, etc. After this, you will not need to use makeup remover or wash your face with any normal cleansers.
- Focus on any problem areas and give the oil enough time to really get into the pores and dissolve any nasty stuff.
- Once you are done, soak your washcloth in clean hot water. The washcloth needs to be warm enough to remove the oil, but not so hot that it hurts. The warm washcloth will help your pores release the impurities and will act a little bit like an esthetician’s steam machine.
- Oil cleanse at night before bed and you should not have to do any cleansing of any type in the morning! Your face will be prepped and ready for the pretty!
Here are the things you need to make your own oil cleanser if you are a DIY girl, if you are a BUY girl like me, I have also linked great options to purchase.
After a good oil cleansing, wait about 15 minutes and then apply a retinoid. A pea size amount should do. Wait a few more minutes and apply your normal moisturizer. Retinoids during the day are a no no because they increase your sensitivity to the sun. Put it on before bed and over time, you will see wrinkles smooth and blotches fade.
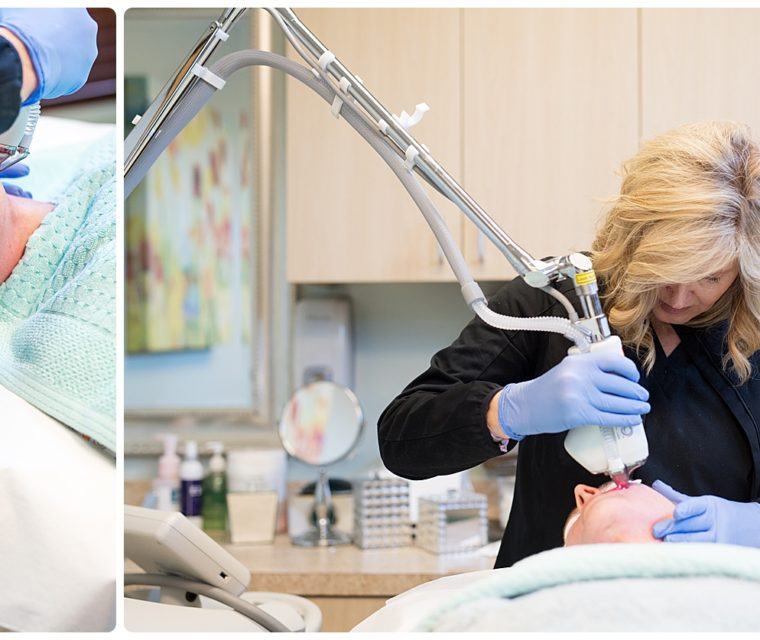
Great makeup starts with a great prepped face to work with and now that you are oil cleansed, retinol-ed up, moisturized and well rested, you are ready to go! I was a little caught off guard with step 1 of the actual makeup application process, but the makeup guru swears by it. She said if nothing else, it helps with lymphatic drainage and who doesn’t want their lymphs drained?! EWWWW! She went into her own little blissful world while showing us how to use the following two tools and I was sold!
This set comes with a jade roller, a rose quartz roller and gua sha massage stone for $29.99. Pro tip: keep the rollers in the fridge for an extra lovely face prepping experience. I already had one of these from my subscription box obsession, so I put it right back into the rotation as soon as I found out how to use it and that it’s not gimmicky like I thought it was!
Watch as Shannon massages her face and tell me she isn’t loving the heck out of this massage stone!
The main benefit of the stones and rollers are to drain lymphatic fluid while reducing puffiness. When the lymph is draining, toxins are removed from the skin, complexion is improved and skin cells rejuvenate. Some factors that cause fluid retention in our faces are too much salt, foods that include sugar, gluten or dairy, too much alcohol and lack of movement. We wake up in the morning our puffiest because we have been lying down all night. Use light pressure with the tools, if your skin gets red, lighten up Miss Aggressive. The lymph likes just a teeny bit of pressure because it is close to the skin. Our lymph drains in the little dips right about each collarbone, so lets move our garbage to the can and get it out of our beautiful faces!
How do you even do this?
- Start at the ear lobe and roll straight down the neck to the collarbone, repeating 3-5 times.
- Double chin to the earlobe, 3-5 times.
- Middle of chin to earlobe, 3-5 times.
- Corner of nose to middle ear, 3-5 times.
- Eye bags to hair line, 3-5 times.
- Under eyebrow, inner corner to temple, 3-5 times.
- Center of eyebrows to hairline, third eye, 3-10 times.
- Lower forehead, above eyebrow to temple, 3-5 times.
- Now we throw all the trash in the trash can. Start in the middle of the upper forehead, move down the hairline, behind the ear, down the side of the neck and into the collarbone dip.
I just did one side of my face and it feels way different and almost more alive and energized. The ancient Chinese might have been on to something! You can use this every day if you would like. Be sure to wipe them down after each use, or at least once a week. Jeni and I are pretty excited to add this into our beauty routine now that we know more about it!
Ok so you’ve gone rolling, what’s next? Serum! The rule of thumb for layering skin care products is to start with the lightest first. Serums are super thin and you want the ingredients to go straight into the pores. Don’t have a serum you love? Take a look at these!
After the serum, apply your eye cream followed by moisturizer then the ever so important…
SUNSCREEN! Always sunscreen! The best way to protect your skin, keep it wrinkle free and youthful. This isn’t just for summer or a sunny day, daily sunscreen is important. These aren’t the type of thick gloppy sunscreen that feels all sticky, these are formulated for your face for daily wear. Jeni and I are 37 and have both had skin cancer, so aside from trying to preserve any youthful skin we have left, it can save your life.
If there is one single product you choose to take our advice on it is this…
Face mist, face mist, faaaaace miiiiiisssst! I knew makeup artists loved this stuff, I just didn’t know I would love it and use it as much as I do! It’s one of those things you think “I would never use that” but then you do, and you become hooked, and there is no turning back! Thank goodness it’s cheap! You can and should use this in so many ways. It’s hydrating and feels awesome, if you are feeling dry give yourself a spritz and it won’t mess up your makeup. Shannon recommends a layer of mist in between cleansing and skin care, and skin care and makeup products. You can spritz before each step if you would like, but definitely before foundation. This is such a great secret in getting that dewy look! I also am loving using this on my beauty blender, which I will get to in the next makeup blog. If you need a little touch up, spray the makeup you did earlier in the day, then redo any spots that need fixing or blending quickly like bronzer or concealer and you are refreshed and ready!
That wraps up the prepping steps, next week we will jump in to concealer and foundation application techniques and product recommendations!
And don’t forget:


Hi! I love reading your blog 🙂 What under eye cream do you recommend?
Hi Laurie!! Thank you! I use these two..https://rstyle.me/n/defib2cicy7 and https://rstyle.me/~aNzda
Thank you!
I spent way too much time on this post! Hahahaha! I’m obsessed with all of this!
I spent an embarrassing amount of time researching and posting this stuff lol! So glad someone is reading it!!!