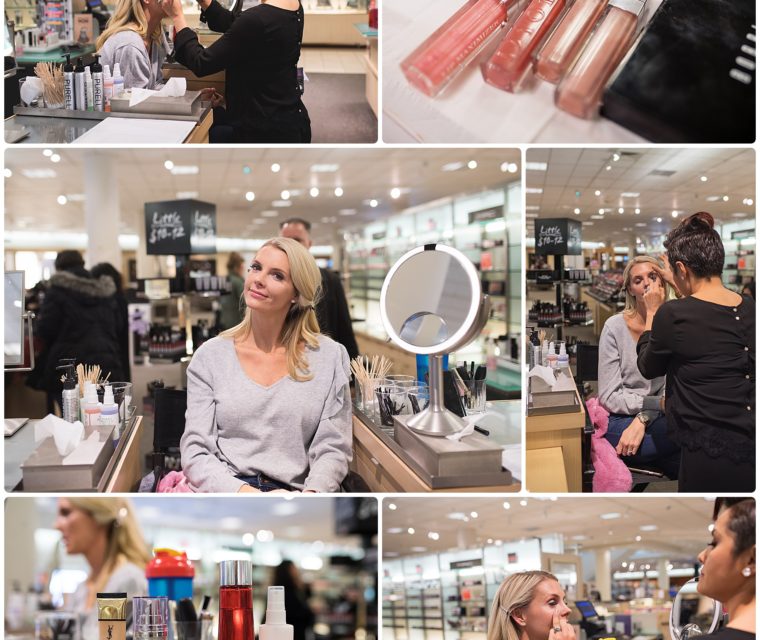
If you didn’t get a chance to read the first makeup blog, you need to go ahead and do that. It’s got a ton of information in it on prepping your skin and products to invest in, why you should use them, what order to use them in, etc. I also introduced our mighty makeup guru, Shannon, in that post.
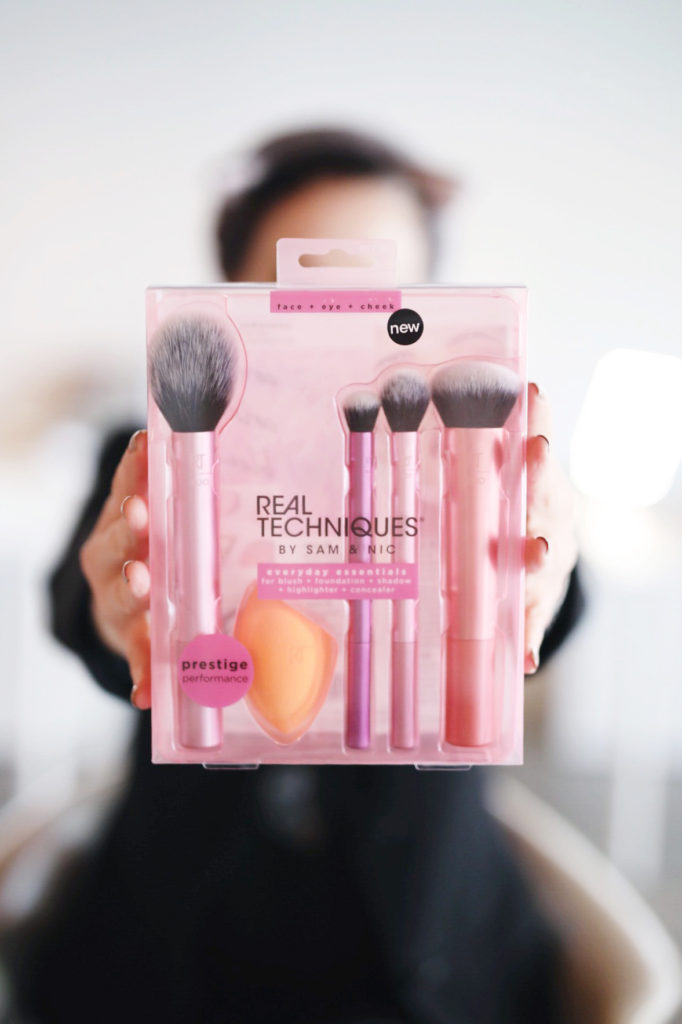
That box of brushes that Shannon is holding up are her absolute favorite budget brushes. And guess what? They are $19.99. Add to cart. Not all of these brushes are used in the foundation and concealer portion of the makeup application process, but I wanted to go ahead and spread the word of these before we get too far into techniques in the next few weeks.
Remember that spray I told you we were loving enough to ask it to go steady with us? That begins your process.
Spritz your face. Yes again. Just do it. Everyone is doing it. Spritzy!
This will trap in all the moisturizing you did and help the foundation to spread on easily. You will also use less product when your skin has been sprayed.
Concealer: Choose a concealer that is one shade lighter than your skin. Jeni and I have our favorites linked in the graphic below. Put the concealer on your ring finger and warm it up by rubbing your thumb and finger together. Dab it into your under eye area starting in the tear trough and working your way across. Don’t neglect the side of your nose by your eyes, especially if you have deep set eyes. Also make sure to go all the way to the lash line, if you just swoop it around under your eye on the dark circle area, it could be noticeable. Then spritz your beauty blender, ALWAYS get the beauty blender a little bit wet, and dab dab dab, blend blend blend. The pointed end works great for getting up under the eye and into the side of the nose.
Foundation: Shannon does not recommend a primer. She doesn’t like them, so that is one easy step to throw out. Jeni and I do not like a really heavy coverage foundation, so we tend to stay to the lighter coverage and BB cream types which are all linked below. Use your finger and not the brush to apply the foundation. The brush will soak it all up and you will end up using more product over time. To put on the foundation, she taught us the dot method. With your finger, hit the high points and dot on the foundation. Your nose, chin, above the cheek bone, forehead, and anywhere else you think need a little dot. Then, with a kabuki or foundation brush using stippling motions, start at the bottom of your face and move your way up and out toward the hairline. Once it is good and stippled, take the brush and brush down your neck in normal strokes to blend. Spritz that beauty blender again and stipple around making sure there are no streaks or lines left over from the brush.

Now here are the products that will help you achieve a photo ready concealer and foundation look! These are what Jeni and I use and you can shop by clicking on the picture of each item.
- Flat Kabuki Brush: My favorite brush to blend foundation. I’m using it in the video above. This brush is ideal for liquid and cream products and I don’t know what the heck I used before I got this. Fun fact, I learned about this brush on a Keeping Up With the Kardashians episode.
- YSL BB Cream: This is such a great BB cream! I have it in medium and it works so well when I have a spray tan. I really need to go ahead and get the light too so I can use it when I’m my normal shade of see through.
- Brush Set: When a seasoned professional makeup artist tells you to run out at get this $19.99. brush set because they love it so much, you get yo butt to the interwebs and get the brushes.
- Facial Spray: This is a must have. It’s 12 bucks and you will use it everyday for prepping and beauty blending.
- Beauty Blender: Goes hand in hand with the spray. You will use this in almost every step of the makeup process. You get an airbrushed blended look every time.
- Shape Tape: My favorite concealer. I know it’s good because my cousin in college asks to use it every time she comes over. It’s so easy to love!
- Flawless Filter: This can be used as a primer, but I use it as a foundation, I have the shade 2 light. It’s buildable and gives a dewy look, especially when applied with a spritzed blender! SO MUCH SPRITZING! SO MUCH BLENDING!
- Tarte BB Tinted Moisturizer: Gosh I love this stuff too. Buildable, moisturizing coverage and SPF 20. Great little product. I have this in light medium.
- Magic Away Concealer: This is Jeni’s favorite concealer. It can last up to 15 hours, and is water resistant! That would be great for the summer y’all!
- Bare Minerals Foundation: Jeni’s go to foundation, this is what she would use for a more full coverage look and has a natural looking matte finish. It has papaya enzymes which improve your skin texture over time.
- Flat Top Brush: A short flat brush to blend makeup in a natural way. This is a more affordable kabuki option.
- YSL Tinted Moisturizer: Jeni loves this for light coverage. It’s buildable, so you could get medium coverage as well, it’s hydrating and it’s SPF 23. This is on my shopping list for the near future!
Take these tips and perfect them this week, because next week it’s all about that contour and blush! Jeni and I will be showing these concealer and foundation application techniques this week on instagram stories, so be sure to find us on there!
2 Comments
Comments are closed.